The first presentation that we will make together is titled “Big Ideas”. As a teaser, let me show you the result that you will get if you follow my instructions.
Click anywhere in the image below and let the presentation play.
Discover the base image
This presentation is based on an SVG image file that I have created for you using Inkscape. Follow the link below to download it and save it to your preferred location. I recommend to save it in a new folder sozi-big-ideas that will gather all the files of this presentation.
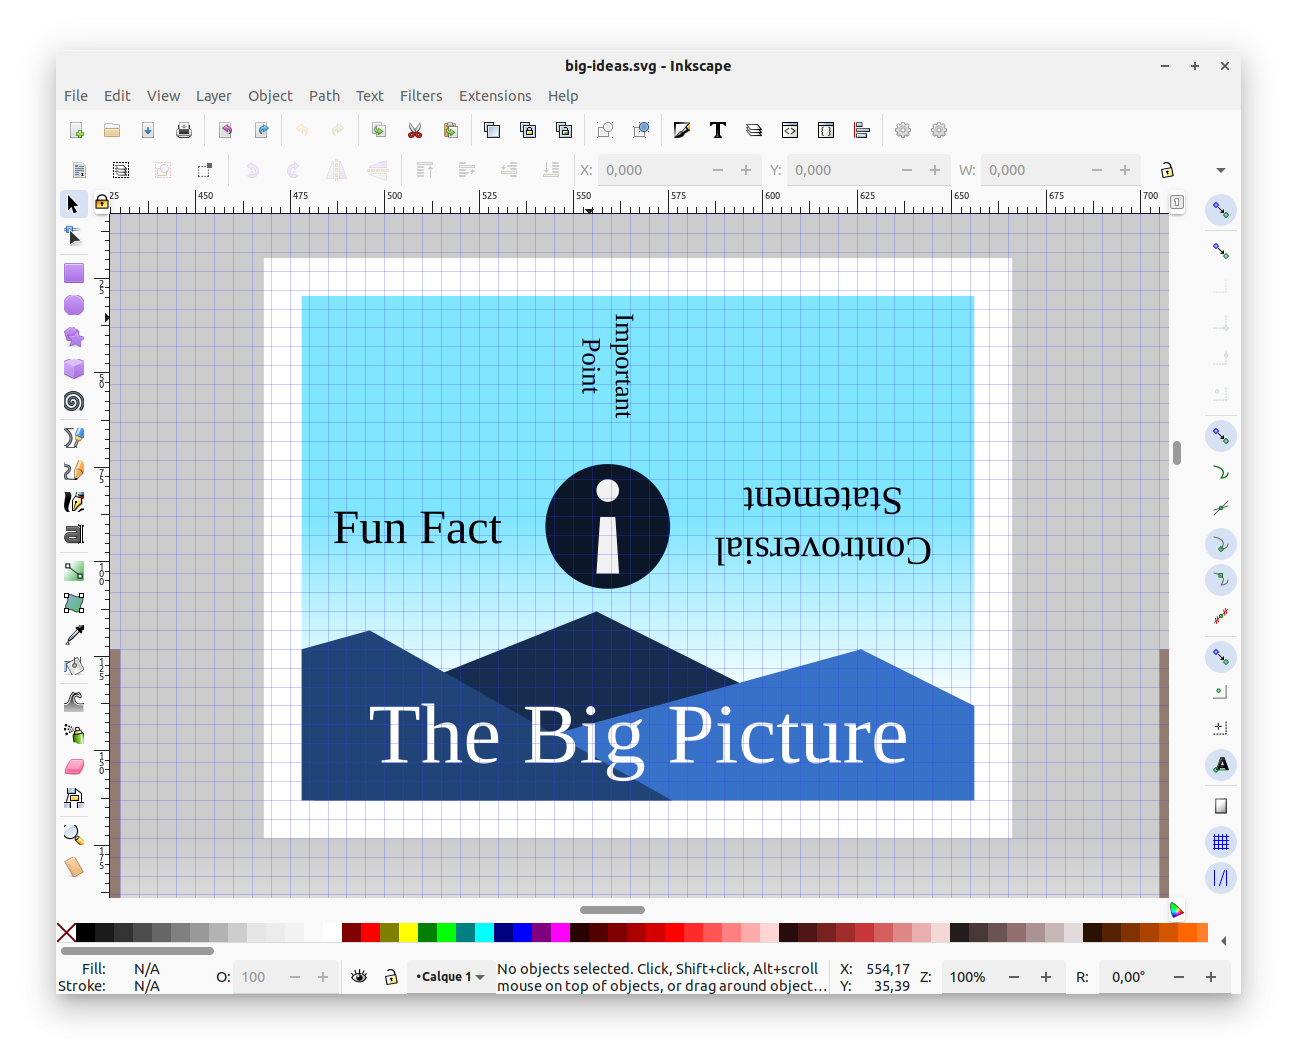
Once the download process is complete, you can open the file big-ideas.svg with Inkscape, inspect its content and modify it to your taste. In the rest of this chapter, we will make modifications to observe the interactions between Inkscape and Sozi.
Get to know the interface of Sozi
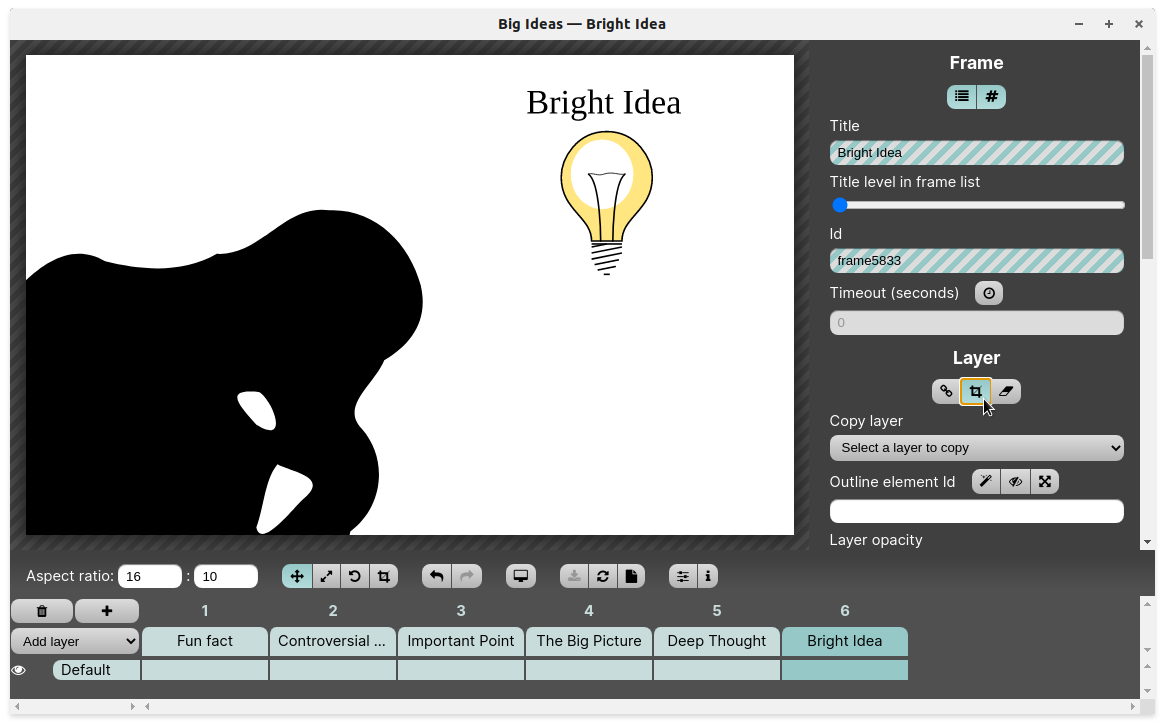
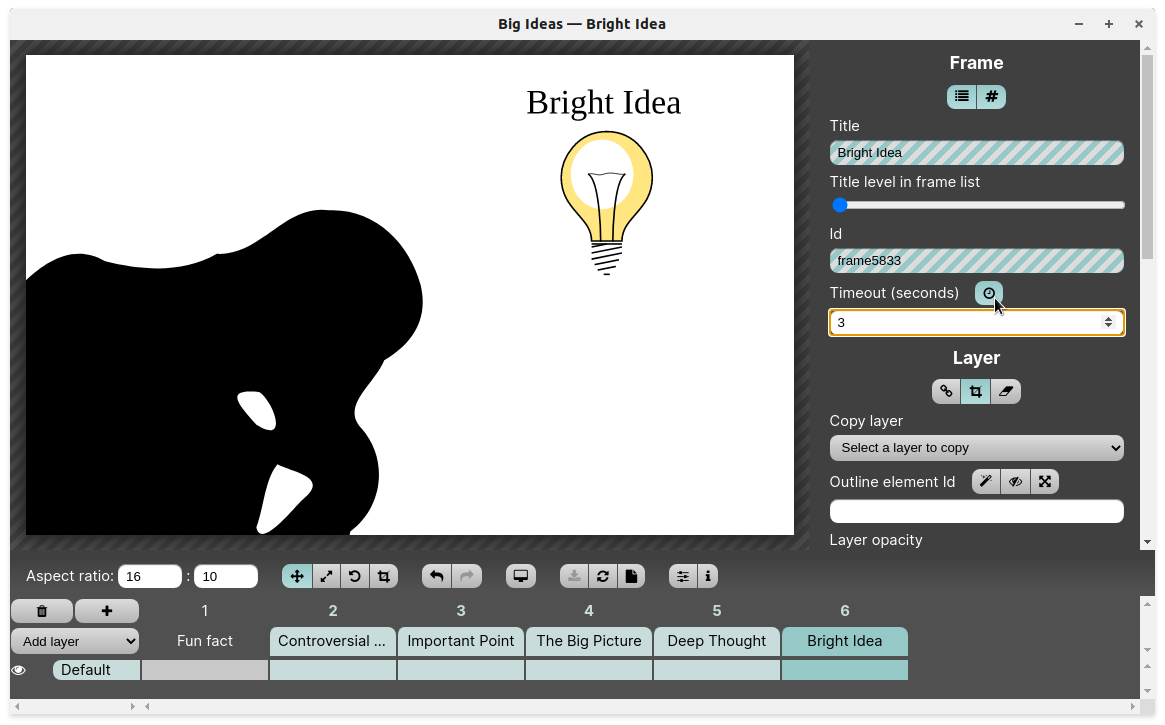
Now open the file big-ideas.svg with Sozi. The picture below highlights the main areas of the user interface.
- The preview pane shows what the camera can see. After opening an image file for the first time, it shows the whole page.
- The properties pane allows you to edit the parameters of the presentation, of the selected frames and of the transitions between frames.
- The toolbar allows you to select the edition mode for the current frame and to perform various operations: undo/redo the last action, save the presentation, etc. Hover over each button with the mouse cursor to show a tooltip.
- The timeline shows the frame sequence. It allows to add, delete, select or reorder frames.

The content of these areas is explained in more detail in part Interface of the presentation editor of this book. Reading that part is not necessary to understand the rest of this page.
Put your “big ideas” in order
Broaden your field of vision
The default aspect ratio of the preview area is 4:3. It is a generic format that can suit many use cases. But if we want this first presentation to be up to our big ideas, let us broaden our field of vision with a 16:10 aspect ratio.
In the toolbar, edit the fields after the words Aspect ratio, typing “16” on the left, and “10” on the right.
When designing a new presentation, we do not always anticipate the format of the screen it will be displayed on. The Aspect ratio setting allows to preview your presentation for a given format, ensuring that the displayed region will be entirely visible on any screen.
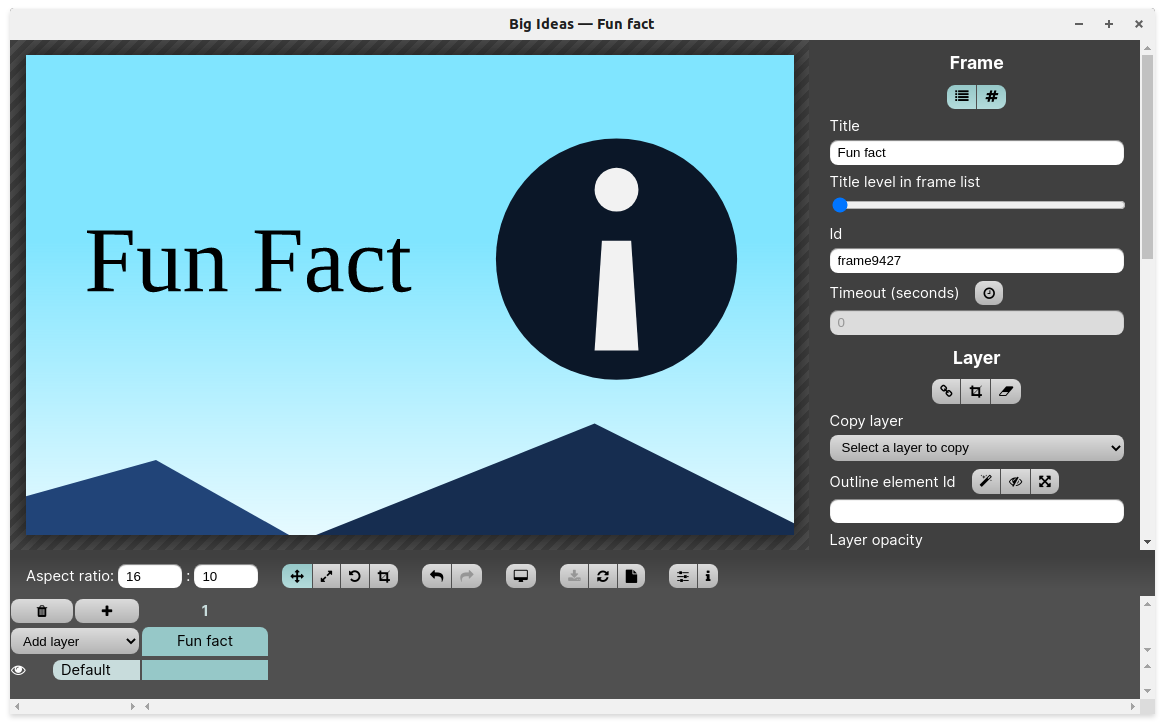
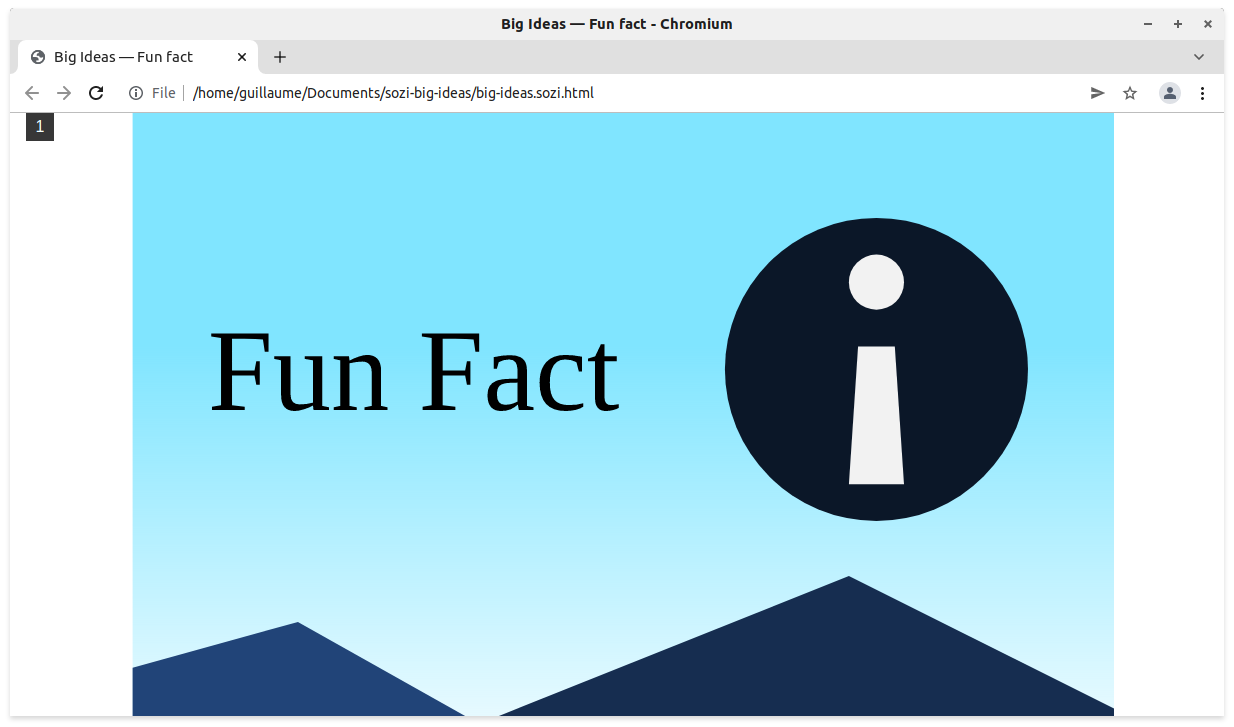
Arouse interest with a “Fun fact”
Press the + button at the bottom left of the window to create a new frame. A new column, titled “New frame”, will appear in the timeline.
In the properties pane, edit the field Title and replace its content with “Fun Fact”.
In the preview pane, use the mouse to place the camera in the same position as in the screenshot below. The movements that you can perform at this stage are:
- Translation: press the left mouse button in the preview area; move the mouse while keeping the button pressed; release the button when the desired location has been reached.
- Zoom in or out: rotate the mouse wheel forward or backward above the preview area.
In the rest of this chapter, I will use the expression “click and drag” to refer to the following sequence of actions:
- Press the left mouse button.
- Move the mouse while keeping the button pressed.
- Release the left mouse button.
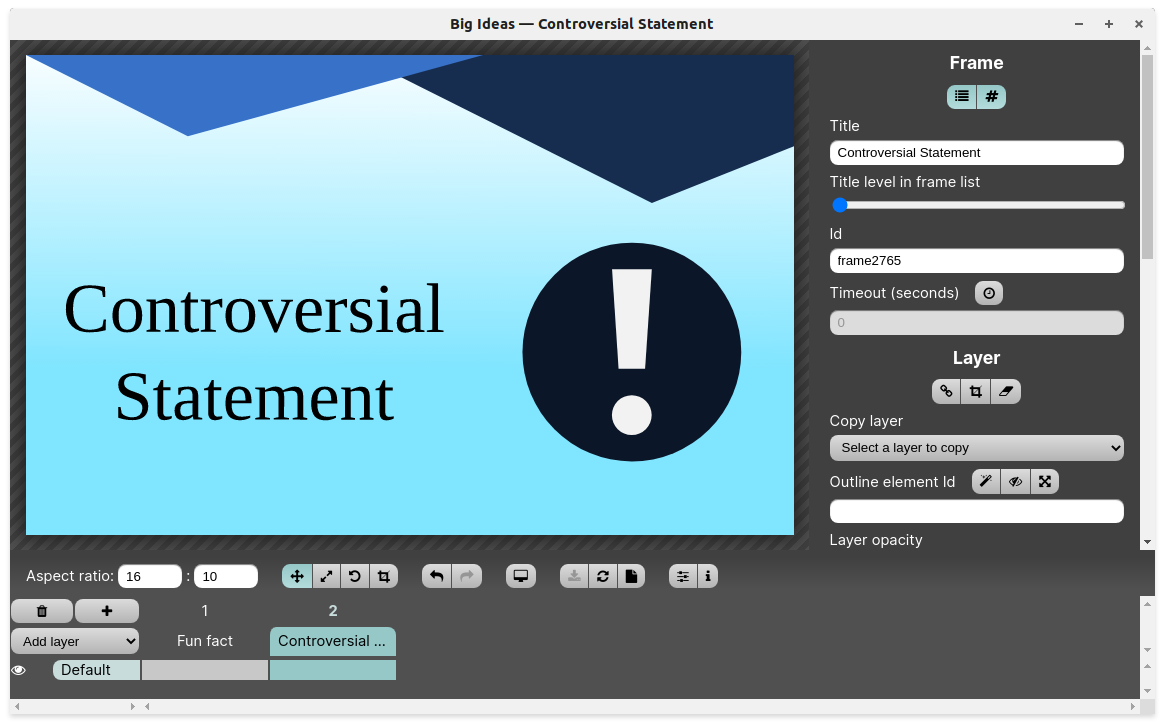
Open the debate with a “Controversial Statement”
Press the + button again to create a new frame. In the properties pane, change the frame title to “Controversial Statement”.
In the preview pane, move the camera to match the screenshot below. I suggest to proceed in this order:
- Move the camera: click and drag to the left until the text “Controversial Statement” is entirely visible. While moving the mouse, you can press the Ctrl key to restrict the movement of the camera along a perfectly horizontal path.
- Rotate the camera by 180 degrees: press and hold the ⇧ Shift key while rotating the mouse wheel until you reach the desired orientation.
- Adjust the scale by rotating the mouse wheel alone.
Preview the transition between the first two frames: click on the first and second columns of the timeline successively, or use the ← and → keys of your keyboard to switch from one frame to the other.
The arrangement of the graphic elements, and the resulting camera movements, can serve different purposes. In certain cases, you will aim to create striking visual effects, at the risk of making your audience dizzy! But you can also make use of a specific arrangement to enhance the narrative of your presentation.
In this example, I have played with the the transformation of the “i” (for “information”) into an exclamation mark. Turning the image upside down relates to the word “controversial”.
In practice, I seldom use rotations in my presentations. There are two reasons for that: partly because I find that it makes the base graphic file more difficult to edit, but mostly because it is of little interest for the type of content that I usually present.
Refocus your speech on an “Important Point”
The interface of Sozi supports other modes for positioning the camera using the mouse. The actual effect of the click-and-drag action in the preview pane depends on the current mode. To select a mode, you can use three buttons of the toolbar, possibly combined with certain keys of your keyboard:
- Translation mode (button on): click and drag to move the camera.
- Zoom mode (, or + Alt): click and drag away from the center to expand, towards the center to shrink.
- Rotation mode (, or + ⇧ Shift): click and drag to rotate around the center of the current frame.
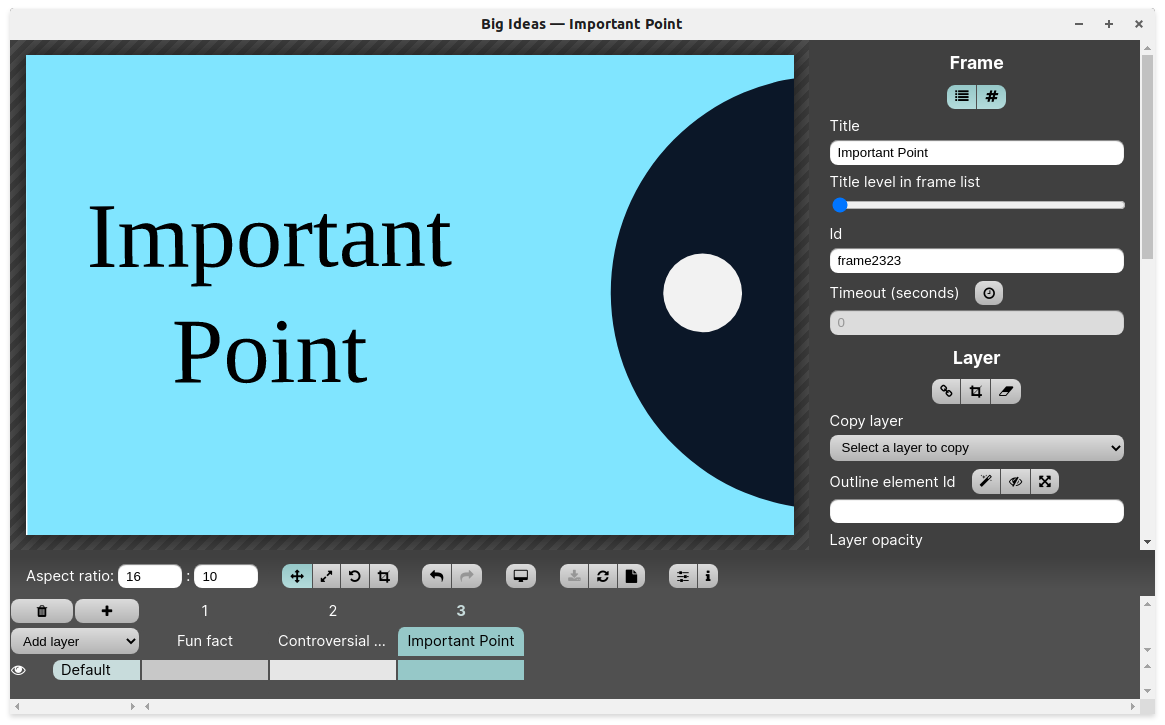
Add a new frame and change its title to “Important Point”.
Practice switching from one mode to another and position the camera to match the screenshot below.
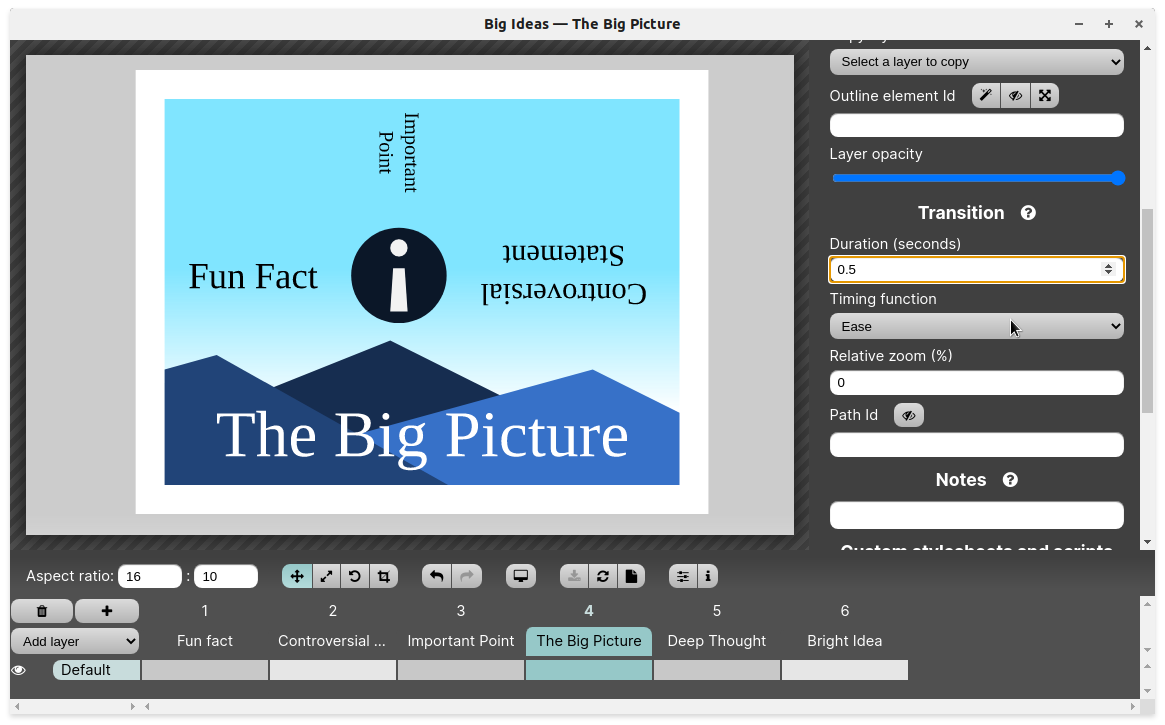
Take a step back and consider “The Big Picture”
Sometimes, when creating a new frame, it can be easier to position the camera if we can see the whole page.
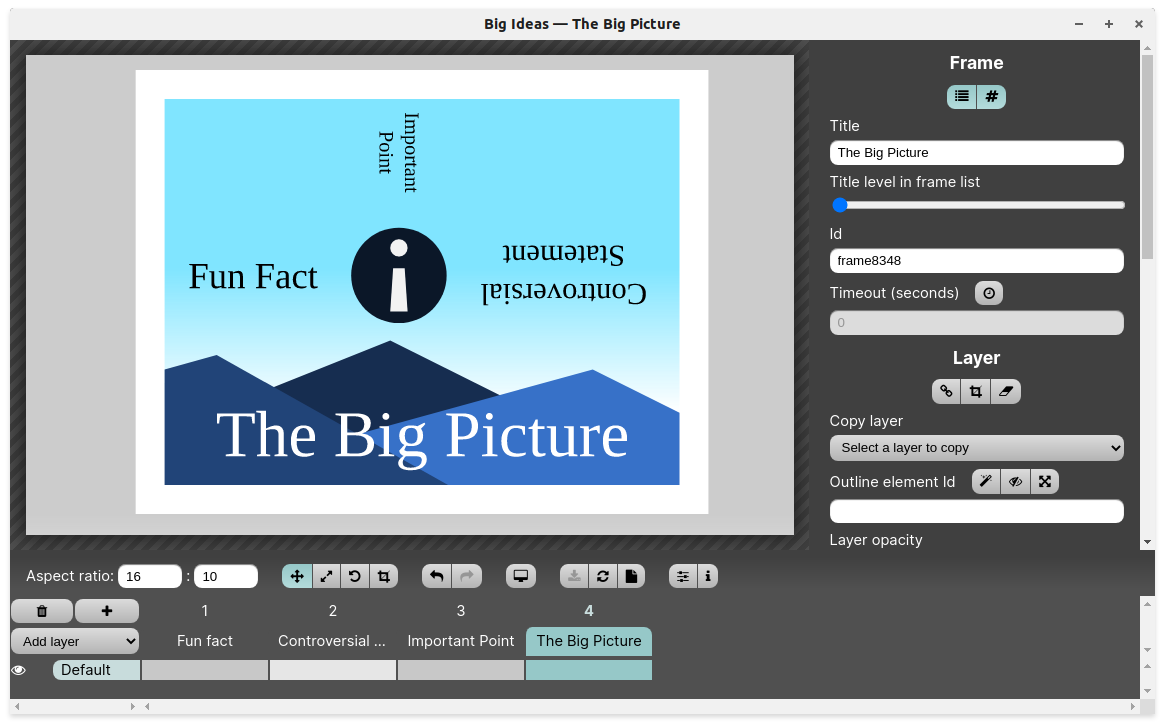
Add a new frame and change its title to “The Big Picture”.
In section Layer of the properties pane, click on the button. Then use the actions that you already know to move the camera and match the screenshot below.
Meditate on this “Deep Thought” and come up with a “Bright Idea”
Add two new frames and change their titles to “Deep Tought” and “Bright Idea”. For each of these frames, position the camera to match the screenshots below.
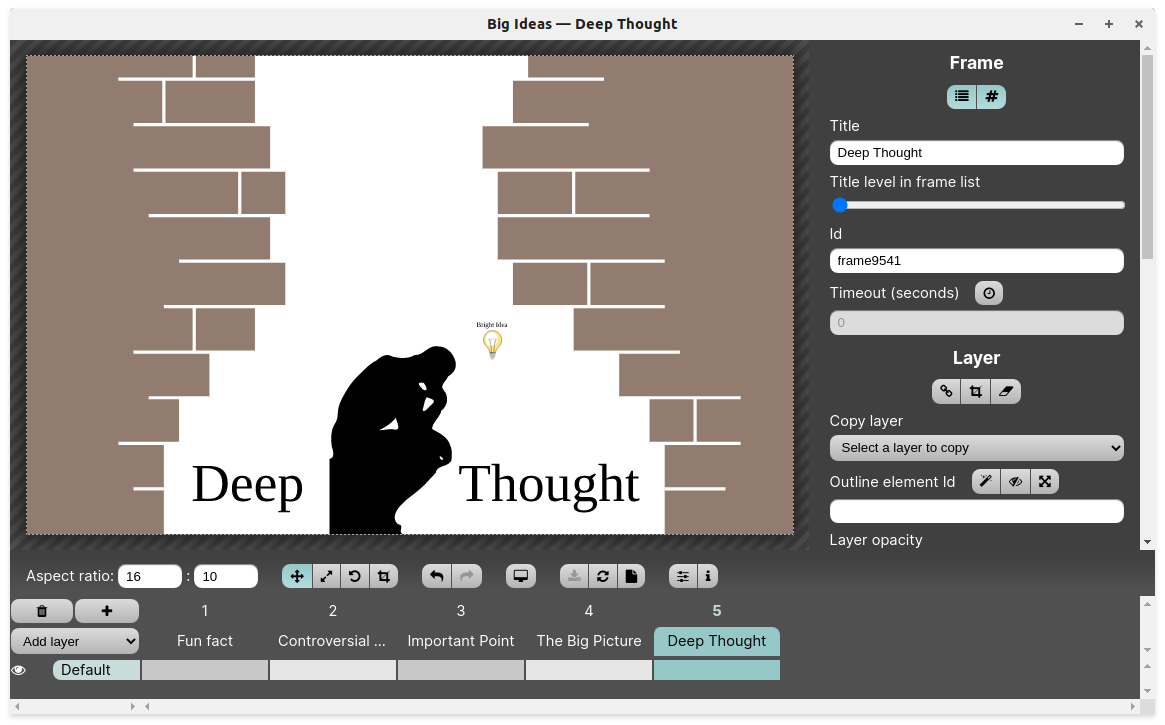
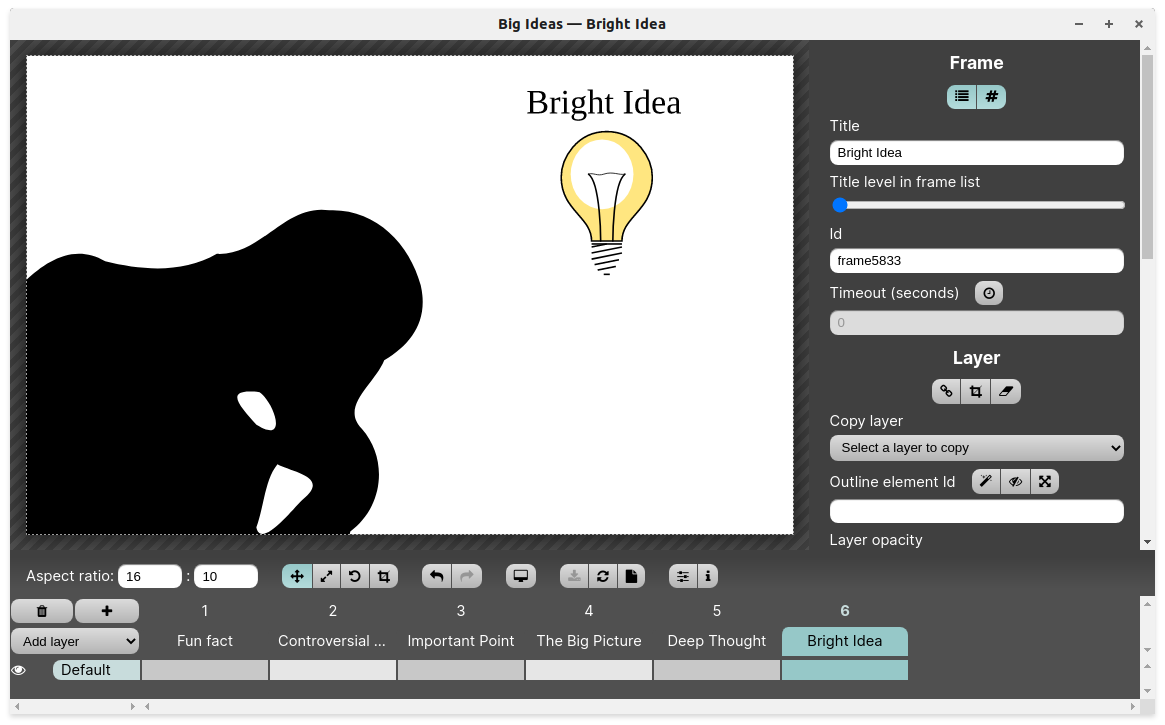
Frame “Bright Idea” makes use of the zoom-in effect to draw the attention to a specific element of the previous frame. On the contrary, in frame “The Big Picture”, we used a zoom-out effect to show an overview of several preceding frames.
Save the presentation and admire the result
You can save the presentation by clicking on the button in the toolbar. If it is greyed out, it means that the presentation has already been saved.
By default, Sozi saves the presentation automatically every time the editor window loses the focus, i.e. every time you switch to another window, or when closing the application. This behavior can be modified in the preferences of Sozi.
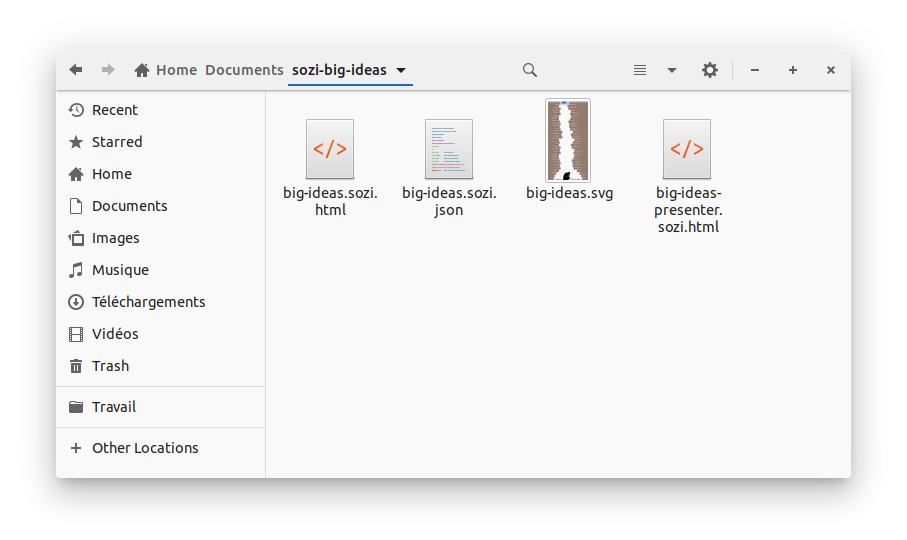
Our work folder now contains four files:
big-ideas.svgis the base graphic file.big-ideas.sozi.jsoncontains the presentation data.big-ideas.sozi.htmlcontains the complete presentation that can be displayed in a web browser. It is composed of: a copy of the base graphic file, a copy of the presentation data, and a copy the player software.big-ideas-presenter.sozi.htmlcontains the presenter’s console. Its use is optional and is out of the scope of the current chapter.
Open the file big-ideas.sozi.html in your favorite web browser. Click inside the window or press the Space key to advance the presentation (for a detailed description of the available actions, read chapter Playing a presentation in direct mode).

Remember that we have chosen to display the frames with a 16:10 aspect ratio in Sozi. When playing the presentation, what happens if the browser window has a different aspect ratio?
Resize the window and compare its content with the preview pane of Sozi. You should observe that the browser window always displays the current frame entirely, extending the field of view vertically or horizontally, but with no clipping.
Like in the screenshot above, some elements that we did not intend to show may become visible. Now let me explain how to hide them.
Take control of space and time
Come back to Sozi but keep the browser window open. In the following steps, we will switch between both applications several times.
Adjust the camera’s field of view
The Clip function allows to restrict the field of the camera to a user-defined rectangular region. By default, this region maps to the entire preview pane but you can modify it if you want.
In the current presentation, we will just enable the clipping effect to make the web browser display exactly the same region as Sozi:
- In the timeline, click in the Default cell on the left. This action selects all frames.
- In section Layer of the properties pane, click on the button. Clipping is now enabled in all selected frames.
Come back to the browser window and reload the page. The field of the camera now respects the 16:10 aspect ratio that we have set up in Sozi, even if the window has a different format:
There are two buttons in the interface of Sozi and it can be confusing:
- The button that you have just used, in the properties pane, enables or disables clipping in the selected frames.
- With the button located in the toolbar, you can switch to the Clipping region edit mode. In this mode, you can use the mouse in the preview pane to resize the clipping rectangle.
Tweak the transition timing
In section Transition of the properties pane, you can find the settings that control the camera movement between the previous frame and the current frame. For each frame, we will modify the following fields:
- Duration (seconds): the duration of the movement.
- Timing function: a function that defines the distance travelled by the camera at each moment of the transition. The functions available in Sozi allow to achieve different speed-up or slow-down effects.
Here is a recap of the settings that I suggest to use in the current presentation. You can try other values for the sake of comparison. Another page of this book is dedicated to the timing functions:
| Frame | Duration (seconds) | Timing function |
|---|---|---|
| 1 | 0 | Step start |
| 2 | 0.5 | Linar |
| 3 | 0.5 | Linar |
| 4 | 0.5 | Ease |
| 5 | 2 | Ease-in-out |
| 6 | 0.5 | Ease |
Come back to the browser window, reload the page and observe how the camera moves with these new settings.
Automate the presentation process
In the presentation embedded at the top of this page, only the transition from the first to the second frame requires an action from the user. After the second frame, transitions happen automatically, every three seconds for frames 2 to 5, and after five seconds for the last frame.
In order to achieve this result, we need to set up a timeout in frames 2 to 6 of the presentation:
- In the timeline, click inside column 2 to select frame “Controversial Statement”.
- Keep the ⇧ Shift key pressed and click in column 6 to extend the selection to frame “Bright Idea”.
- In the properties pane, click on the button to enable the automatic transition to the next frame after a delay.
- Set the Timeout (seconds) field to “3”.
- Click inside column 6 of the timeline to select frame “Bright Idea” alone.
- Set the Timeout (seconds) field to “5”.
Come back to the browser window, navigate to the first frame of the presentation and reload the page. Click inside the window or press the Space key to move to the second frame; then you can let the presentation play. You can also move from a frame to the next by clicking or pressing the Space key before the timeout.
When we set up an automatic transition after the last frame, we get a presentation that plays in a loop.
Recap
In this chapter, you have discovered and practised the main features of Sozi to create a presentation from a graphic file in the SVG format. I have not explained the techniques that I have used to draw the original graphics because they are out of the scope of this manual.
You have learnt to find your way in the interface of Sozi by using the most common functions:
- Assign an aspect ratio to the preview pane.
- Create a sequence of frames.
- Give a title to each frame.
- Move the camera by means of rotation, zoom and translation, using various interaction modes with the preview pane.
- Use the Clip function to restrict the field of the camera so that it matches the preview pane.
- Change the transition time and use various timing functions.
- Trigger certain transitions automatically after a delay.
- Play a presentation in a web browser.
My own version of this presentation can be downloaded from the links below. Take care to save the files in a separate folder to avoid overwriting yours.